Mastering Titanium: A Beginner’s Guide to Lab Fabrication
Hey there, future master technicians! If you’re just starting your journey in the dental lab, working with titanium might seem a bit intimidating. It’s strong, it’s expensive, and it demands respect. But don’t worry! Once you understand the flow from the clinic to your workstation, and master a few key tricks (especially regarding surface treatment), you’ll be crafting high-quality titanium prosthetics in no time.
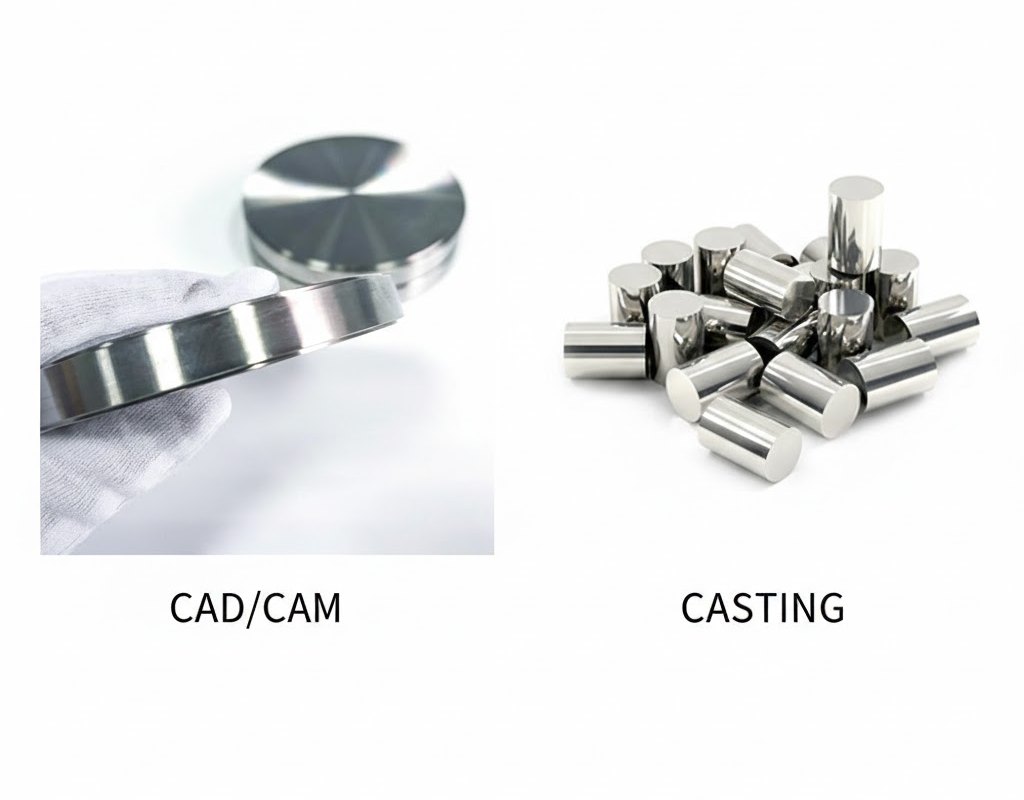
🛠️ The Two Main “Ingredients”
Before we dive in, let’s talk about what you’ll actually be working with on your bench. In modern labs, we rarely start from scratch; we use pre-made materials that fit into our digital workflow:
1. Pre-milled Blanks (The “Plug-and-Play” Option): Think of these as smart building blocks. They are already machined to fit specific implant brands (like Straumann or Nobel). Your job is to mill the top part to match the patient’s anatomy. It saves time and guarantees a perfect fit on the implant side.
2. Standard Titanium Blocks (The “Raw Power” Option): Usually Grade 5 (Ti-6Al-4V) blocks, often around 98mm in size. These are used for bigger jobs, like full-arch bridges. You mill the entire structure out of this solid block.
🔄 From Clinic to Lab: The Workflow
Every piece you make starts with data from the clinic. Here is your step-by-step guide:
1. The Scan/Impression: The dentist takes a digital scan or a physical impression. This captures the exact position of the implant in the patient’s mouth.
2. Design (CAD): You load this data into your CAD software. This is where you design the shape of the crown, bridge, or bar. Remember, you are not just making a shape; you are engineering a structure that must withstand chewing forces.
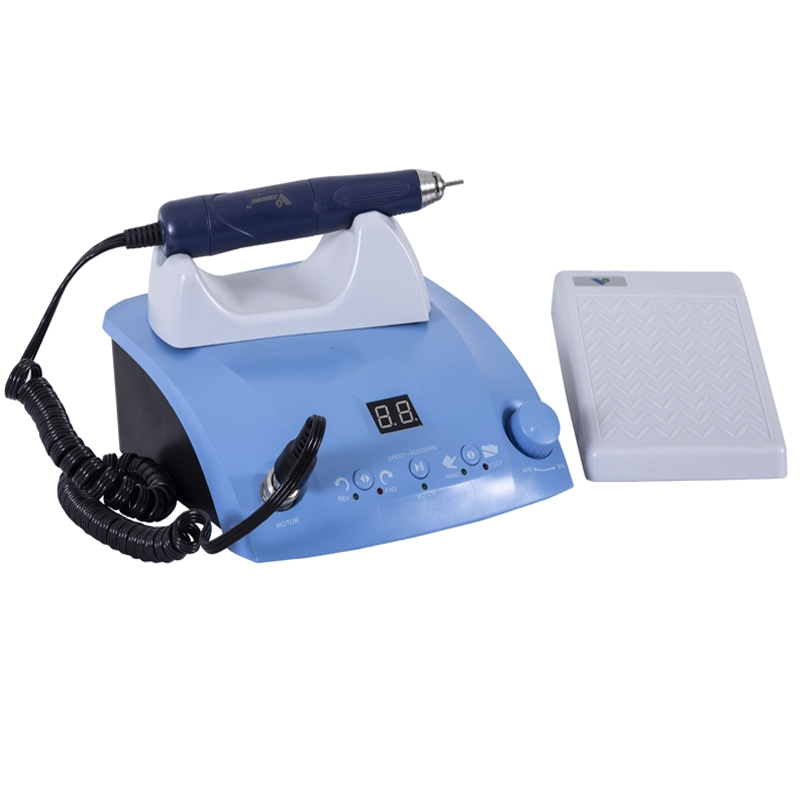
3. Milling (CAM): You load the digital file into the milling machine, clamp down your titanium block or blank, and let the machine carve it out.
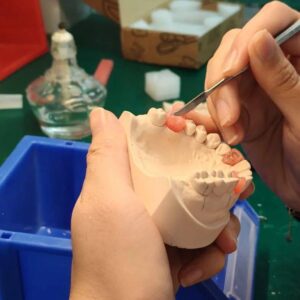
4. The Finishing Touches (Surface Prep): This is where many beginners make mistakes. Milling leaves a smooth, shiny surface. To make the final restoration look natural (especially for gums), you need to change this surface texture. Here is the secret sauce:
🧱 The “Secret Sauce”: Sandblasting and Surface Prep
You cannot just polish titanium and send it out. For soft tissue health and aesthetics, you often need a matte, roughened surface.
Why do we do this?
● Aesthetics: A shiny, smooth titanium surface can look gray and unnatural under the gums. A blasted, matte surface mimics natural tissue texture and hides the metal color better.
● Cleaning: It removes any residual contaminants or oxides from the milling process.
How to do it (The “Goldilocks” Method):
The key is pressure and material. You need to be gentle enough not to deform the titanium but strong enough to change the texture.
| Parameter | Recommendation for Beginners | Why? |
| Media Material | Aluminum Oxide (Al2O3) | It is the industry standard. It is sharp and effective. |
| Particle Size | 50µm to 110µm | Medium grit. It creates a good “tooth” without being too aggressive. |
| Pressure | 2.0 to 2.5 Bar (Low Pressure) | CRITICAL: Too high (above 3 Bar) can alter the precision fit of your restoration or embed particles into the soft titanium. Keep it low and steady. |
| Distance | 10 mm to 15 mm | Hold the nozzle close, but not touching. |
Pro-Tip for Newbies: Always do a test run on a scrap piece of titanium first. Look at the surface under a microscope. Is it too shiny? Increase pressure slightly. Is it pitted? Lower the pressure. You want a consistent, uniform matte finish.
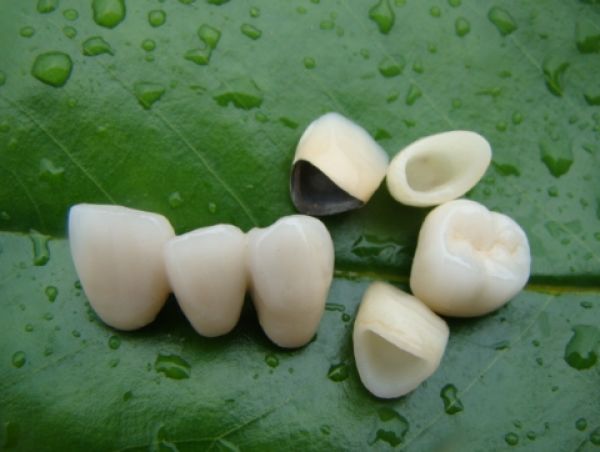
📝 Case Study 1: The Single Crown (Using Pre-milled Blank)
● Scenario: You are making a single crown for a molar.
● Process: You use a pre-milled TiBase. The bottom fits the implant perfectly. You only mill the top.
● Surface Treatment: After milling, you only need to lightly sandblast the margins and the surface that will be covered by the ceramic or gum tissue. Be careful not to blast the internal connection—that needs to stay smooth to fit the implant precisely.
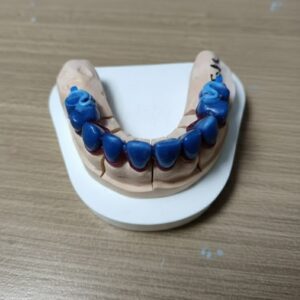
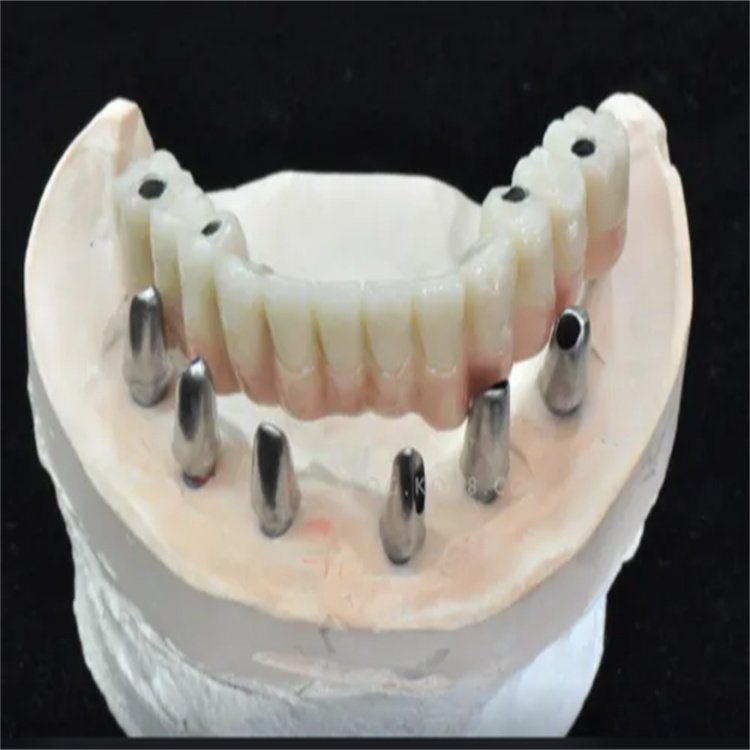
📝 Case Study 2: The Full-Arch Bridge (Using 98mm Block)
● Scenario: A full lower jaw bridge.
● Process: You mill the entire metal framework from a solid block. This takes longer but creates a super strong, one-piece structure.
● Surface Treatment: This piece has a lot of surface area. You need to ensure the tissue surface is roughened for better hygiene and to prevent the denture from looking “shiny” through the gums. Use the parameters above, but be consistent across the entire surface.
Seamless Supply: Your Source for Every Workflow
To ensure your lab is equipped for any case, it is crucial to partner with a supplier that bridges the gap between traditional craftsmanship and digital precision. Laboratory consumable materials supply like Dental Lab Shop stands out by offering an extensive range of dental alloys designed to support every stage of your production. Whether you are working on a classic removable partial denture or a high-end digital restoration, they have the materials you need. Their comprehensive catalog includes:
● Traditional Casting Alloys: High-quality Cobalt Chrome (CoCr) alloys for frameworks and partial dentures, known for their strength and biocompatibility.
● Premium Titanium Materials: From raw stock to finished components, ensuring you have the right grade for the job.
● Digital CAD/CAM Solutions: A full spectrum of disc and block options, including pre-milled titanium blanks for efficient abutment fabrication, large 98mm titanium blocks for full-arch bridges, and a variety of Cobalt Chrome discs for milled prosthetics.
By providing this wide array of options, Dental Lab Shop ensures that whether you are using an older milling unit or the latest 5-axis machine, or fabrication prosthetics through casting wax-lost manner, you can always find the right material to deliver high-quality results to your clients.
🚀 Final Thoughts
Working with titanium is a skill that takes practice. Don’t get discouraged if your first few pieces aren’t perfect. Remember the golden rule of sandblasting: Low pressure, sharp angles, and always test first. As you gain experience, you will develop an eye for the perfect surface texture. Keep learning, keep practicing, and soon you will be the go-to expert in your lab!