Back to Basics (and Forward to Future): Mastering Cobalt-Chrome for Biocompatible Prostheses
By tony/Dental Laboratorio
In an era where esthetic materials like zirconia and lithium disilicate dominate the headlines, it’s easy to overlook the workhorse of the dental lab: Cobalt-Chromium (Co-Cr). While we all love the translucency of modern ceramics, when it comes to long-term durability, fatigue resistance, and biocompatibility in demanding situations, Co-Cr remains the undisputed king.
As dental technicians, we know that choosing the right fabrication method is just as important as choosing the right material. Whether you are pouring traditional investment blocks or designing in exocad, understanding the strengths of each workflow is crucial for the final prosthetic outcome.
Let’s dive into the state of Co-Cr today, breaking down the workflows and looking at two real-world cases to help you decide between the handcrafted wax-lost method and digital CAD/CAM milling.
The Material: Why Co-Cr?
Modern medical-grade Co-Cr alloys are biocompatible, corrosion-resistant, and nickel-free/beryllium-free. Their high modulus of elasticity makes them stiff enough for long-span bridges yet flexible enough for the clasps of removable partial dentures (RPDs). While ceramics offer beauty, they can be brittle. Co-Cr offers toughness that simply cannot be matched by glass-ceramics.
Workflow Showdown: Two Ways to the Same Goal
To help you digest the pros and cons quickly, here are two tables comparing the physical aspects and the workflow realities of Co-Cr fabrication.
Table 1: Material & Process Characteristics
| Feature | Traditional Lost-Wax Casting | CAD/CAM Milling (Soft/Hard) |
|---|---|---|
| Microstructure | Can have micro-porosity if not cast perfectly; grains depend on cooling rate. | Homogeneous, consistent structure; no porosity risks from casting. |
| Surface Finish | Good, but may require aggressive oxidation removal and finishing. | Excellent “as-milled” surface; minimal surface imperfections. |
| Dimensional Stability | Risk of distortion during wax burnout or cooling (shrinkage). | High precision; digital file ensures consistent output every time. |
| Labor Intensity | High. Requires manual wax-up, spruing, investing, casting, and divesting. | Lower. Requires scanning and design, but machine handles the cutting. |
| Tool Wear | N/A (Crucible based). | High. Co-Cr is very hard; milling burs wear down fast, increasing costs. |
| Material Waste | Minimal (sprues can be recycled). | High (subtractive process; the disc is mostly waste). |
Table 2: Technician Decision Matrix
| Scenario | Recommended Method | Why? |
|---|---|---|
| Complex RPD Frameworks | Lost-Wax Casting | Intricate clasps and minor connectors are easier to sculpt in wax. Allows for easy intraoral adjustments (bending/clasping) later. |
| Long-Span Fixed Bridges | CAD/CAM Milling | Precision is critical for passivity. Milled frameworks have better marginal fit and less distortion over long distances. |
| Small Volume / Single Unit | Either | Cost and lab speed dictate this. Casting has less overhead; CAD/CAM is faster if the machine is free. |
| Implant-Supported Bars | CAD/CAM Milling | Implant frameworks require “screw-retained” precision. Digital workflows ensure the cylinders align perfectly with the master model. |
| Heavy Modifications Needed | Lost-Wax Casting | If the dentist frequently asks for additions (wax add-ons) after the try-in, casting is easier to re-work. |
Case Studies: Deciding the Workflow Based on Patient Data
To illustrate how we apply these decisions in the lab, let’s look at two cases that arrived on the bench this week.
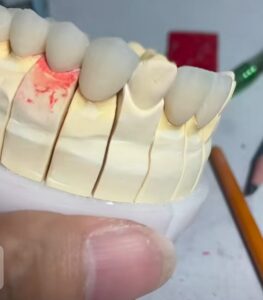
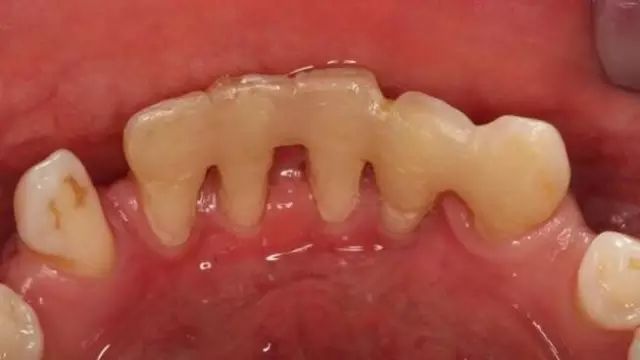
Case 1: The “Complex Clasp” RPD
Patient Data (from Dentist):
- Diagnosis: Kennedy Class I modification 1 (Bilateral free-end saddle).
- Rest Space: Limited vertical occlusal space (approx 6mm).
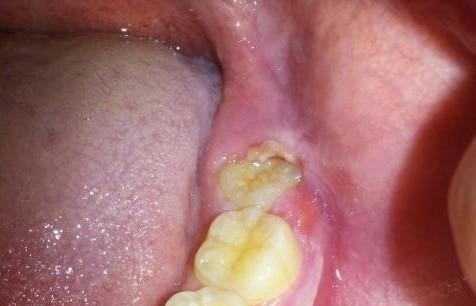
- Tissue: Undercuts present in the retromolar pad area; soft tissue is slightly displaceable.
- Impression: Polyvinyl Siloxane (PVS) poured in high-strength stone.
Technician Analysis & Decision:
- The Challenge: This case requires circumferential clasps that need to engage deep undercuts to retain the denture. The geometry of the clasp tips is complex and delicate. Furthermore, due to the limited vertical space, the framework must be thin yet strong.
- Workflow Choice: Traditional Lost-Wax Casting.
- Why?
- Flexibility: We need the clasps to have a certain “spring” action that can be fine-tuned during the metal try-in. Milled Co-Cr is harder to bend intraorally without risking fracture.
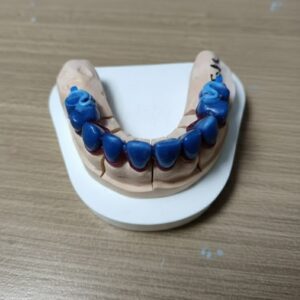
- Design Freedom: We used sheet wax and rope wax to build up the minor connectors exactly to the tissue anatomy. Blocking out undercuts on the die before duplicating allowed us to create a custom fit that a standard digital library might not capture perfectly.
- Adjustment: If the dentist calls saying the clasp is too tight, we can easily relief the metal or add wax and recast a small section if necessary.
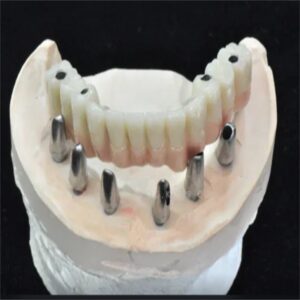
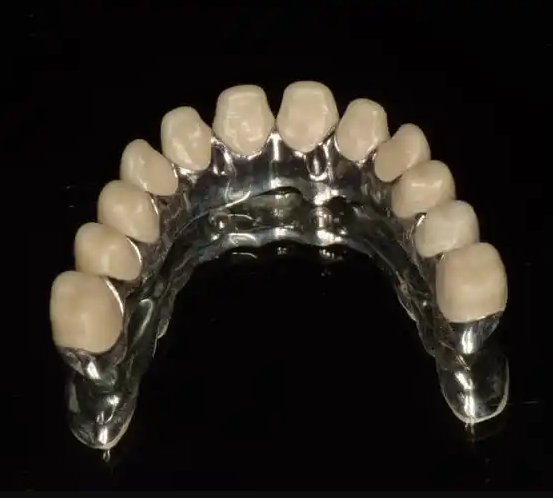
Case 2: The “High-Precision” Implant Bridge
Patient Data (from Dentist):
- Diagnosis: Full arch implant rehabilitation (All-on-4 style concept) in the mandible.
- Abutments: Multi-unit abutments (Titanium base) placed.
- Scan: Digital Intraoral Scan (STL file) provided, verified with a verification jig (index).
- Requirements: Passive fit is non-negotiable to prevent screw loosening.
Technician Analysis & Decision:
- The Challenge: We are dealing with a rigid metal bar connecting four implants. Even 50 microns of distortion can cause severe stress on the implants. The patient also has a high bruxism factor.
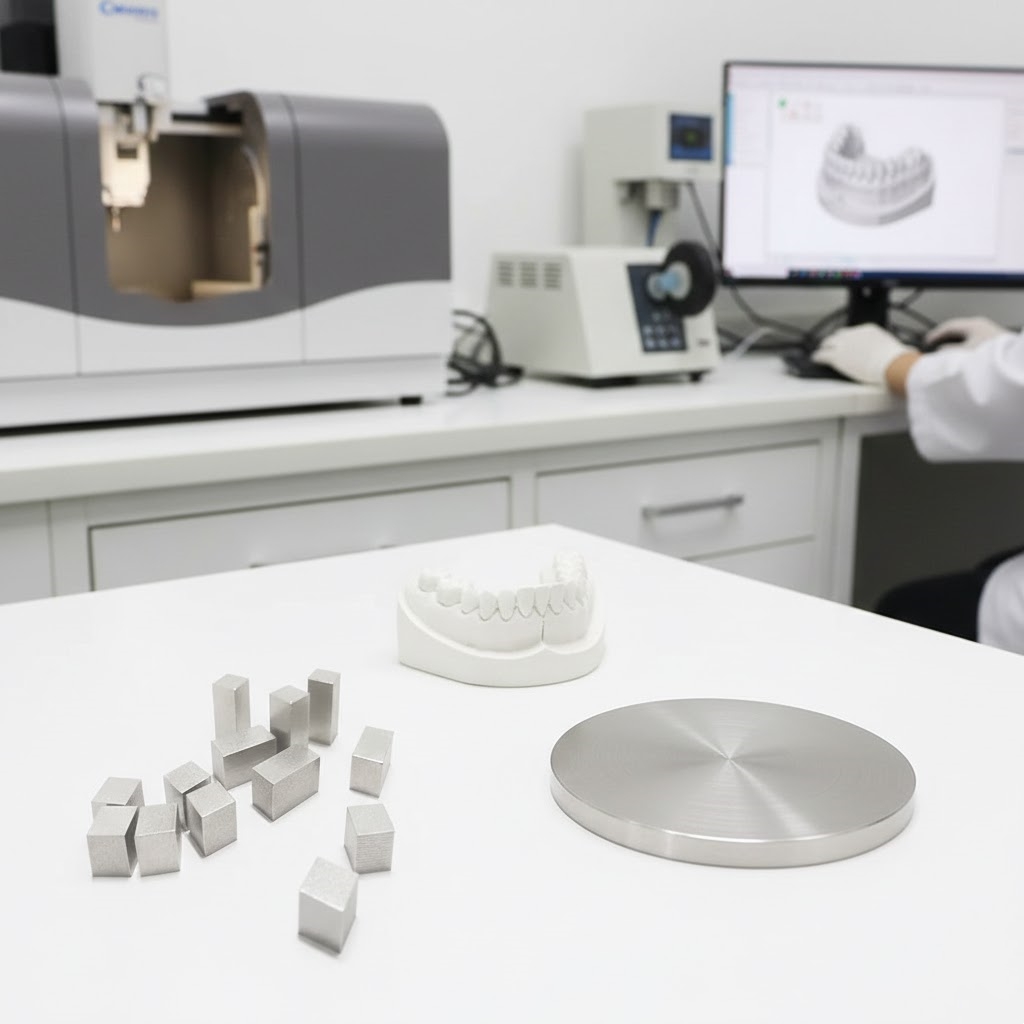
- Workflow Choice: CAD/CAM Milling.
- Why?
- Passive Fit: By importing the intraoral scan directly into our CAD software, we design the framework to fit the digital model exactly. The 5-axis milling machine reproduces this geometry with micron-level accuracy, avoiding the shrinkage and distortion risks of melting metal.
- Consistency: The milled Co-Cr disc provides a homogenous alloy structure without casting imperfections, which is vital for a long-span implant prosthesis under heavy load.
- Speed: Once the design is approved, the mill cuts the framework in a few hours. Trying to wax up and cast a full arch bar perfectly the first time is time-consuming and risky.
The Takeaway
There is no “winner” in the battle between Casting and CAD/CAM—they are simply different tools for different jobs. As technicians, our value lies not just in pushing buttons or melting metal, but in diagnosing the case *before* we start.
When you see deep undercuts and clasps, reach for the wax. When you see implants and long spans, head to the scanner. Mastering both workflows ensures that no matter what the dentist throws at you, you can deliver a biocompatible, durable Co-Cr prosthesis that fits perfectly.