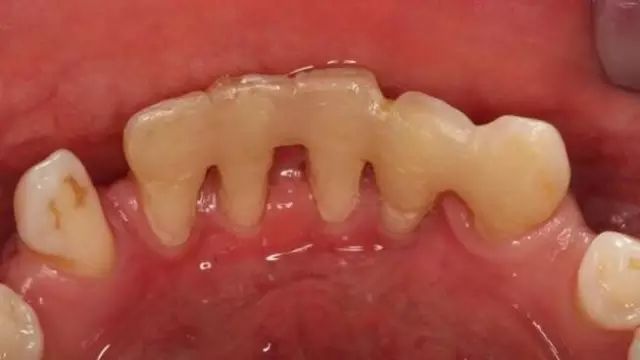
Hey there, future master technicians! If you’re just starting your journey in the dental lab, working with titanium might seem a bit intimidating. It’s strong, it’s expensive, and it demands respect. But don’t worry! Once you understand the flow from the clinic to your workstation, and master a few key tricks (especially regarding surface treatment), you’ll be crafting high-quality titanium prosthetics in no time.
🛠️ The Two Main “Ingredients”
Before we dive in, let’s talk about what you’ll actually be working with on your bench. In modern labs, we rarely start from scratch; we use pre-made materials that fit into our digital workflow:
- Pre-milled Blanks (The “Plug-and-Play” Option): Think of these as smart building blocks. They are already machined to fit specific implant brands (like Straumann or Nobel). Your job is to mill the top part to match the patient’s anatomy. It saves time and guarantees a perfect fit on the implant side.
- Standard Titanium Blocks (The “Raw Power” Option): Usually Grade 5 (Ti-6Al-4V) blocks, often around 98mm in size. These are used for bigger jobs, like full-arch bridges. You mill the entire structure out of this solid block.
🔄 From Clinic to Lab: The Workflow
Every piece you make starts with data from the clinic. Here is your step-by-step guide:
- The Scan/Impression: The dentist takes a digital scan or a physical impression. This captures the exact position of the implant in the patient’s mouth.
- Design (CAD): You load this data into your CAD software. This is where you design the shape of the crown, bridge, or bar. Remember, you are not just making a shape; you are engineering a structure that must withstand chewing forces.
- Milling (CAM): You load the digital file into the milling machine, clamp down your titanium block or blank, and let the machine carve it out.
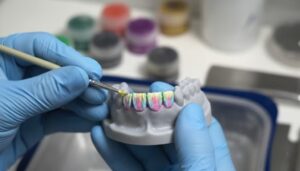
🖨️ The 3D Printing Revolution: Gingival and Provisional Fabrication
Modern dental laboratories have embraced 3D printing technology as an essential tool for creating accurate gingival masks and long-term provisional restorations. Once the titanium custom abutments are designed in CAD software, the technician can seamlessly transition to designing the soft tissue components and provisional teeth. The CAD platform allows for precise modeling of the gingival contours, ensuring that the pink aesthetic elements will perfectly complement the metal framework and natural tooth emergence profiles. This digital approach eliminates the guesswork traditionally associated with wax-ups and manual sculpting.
After completing the digital design, the software generates the slicing path—a critical step that translates the 3D model into layer-by-layer printing instructions. The slicing parameters determine the resolution, support structures, and print orientation for both the gingival mask and the provisional teeth. Using biocompatible dental resins, the 3D printer builds these components with exceptional accuracy, ensuring they seat perfectly on the titanium custom abutments. The printed gingival portion provides the pink aesthetics needed for full-arch cases, while the provisional teeth offer patients functional, long-term temporaries that can last months while the final restoration is being fabricated. This integrated digital workflow—from titanium abutment design to printed provisionals—dramatically reduces turnaround time while improving fit and aesthetics.
Seamless Supply: Your Source for Every Workflow
To ensure your lab is equipped for any case, it is crucial to partner with a supplier that bridges the gap between traditional craftsmanship and digital precision. Laboratory consumable materials supply like Dental Lab Shop stands out by offering an extensive range of dental alloys designed to support every stage of your production. Whether you are working on a classic removable partial denture or a high-end digital restoration, they have the materials you need. Their comprehensive catalog includes:
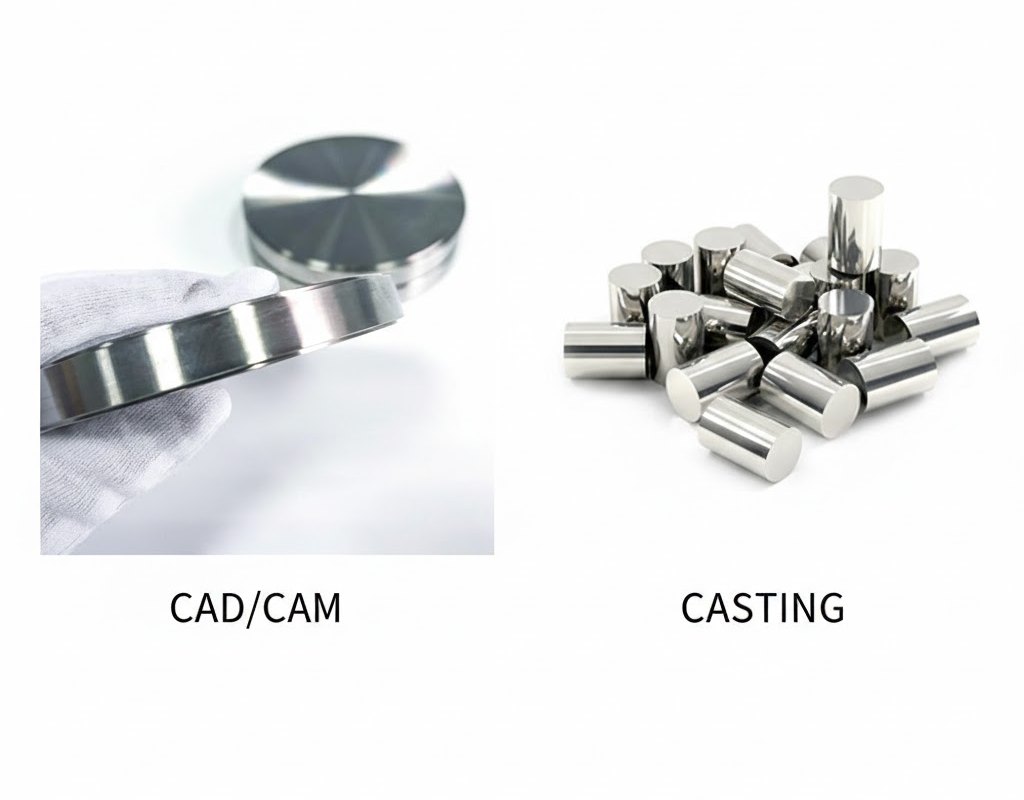
● Traditional Casting Alloys: High-quality Cobalt Chrome (CoCr) alloys for frameworks and partial dentures, known for their strength and biocompatibility.
● Premium Titanium Materials: From raw stock to finished components, ensuring you have the right grade for the job.
● Digital CAD/CAM Solutions: A full spectrum of disc and block options, including pre-milled titanium blanks for efficient abutment fabrication, large 98mm titanium blocks for full-arch bridges, and a variety of Cobalt Chrome discs for milled prosthetics.
By providing this wide array of options, Dental Lab Shop ensures that whether you are using an older milling unit or the latest 5-axis machine, or fabrication prosthetics through casting wax-lost manner, you can always find the right material to deliver high-quality results to your clients.
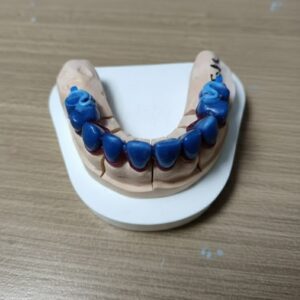
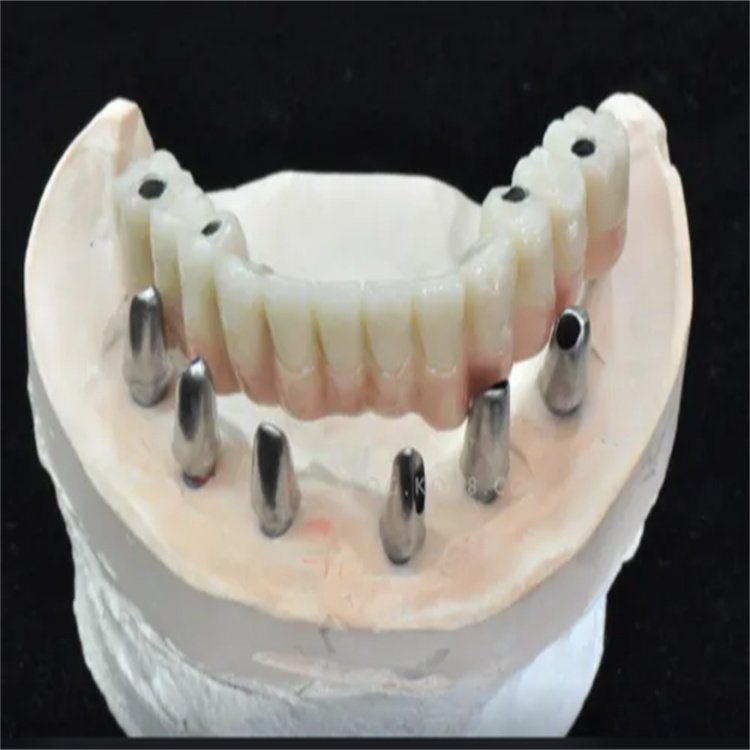
📸 Real-World Example: Full-Arch Titanium Abutment Case
The image above showcases a complete full-arch restoration case featuring multiple titanium custom abutments precisely positioned in a dental cast. Notice the six titanium abutments strategically placed along the arch—these have been milled from pre-milled tanium blanks to achieve optimal angulation and height for the final prosthesis. The pink and white provisional restoration, likely fabricated using 3D printing technology, demonstrates how the gingival mask and artificial teeth are designed to seat perfectly over these custom abutments. The black access holes visible on the occlusal surface of the provisional teeth indicate where screws will pass through to secure the prosthesis to the titanium abutments. This case exemplifies the complete digital workflow: from implant positioning data, to titanium abutment design and milling, to 3D printed provisionals that allow the patient to function aesthetically while the final zirconia or acrylic-hybrid prosthesis is being manufactured.
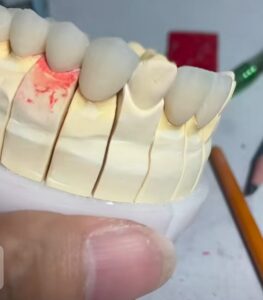
🧱 The “Secret Sauce”: Sandblasting and Surface Prep
You cannot just polish titanium and send it out. For soft tissue health and aesthetics, you often need a matte, roughened surface.
Why do we do this?
- Aesthetics: A shiny, smooth titanium surface can look gray and unnatural under the gums. A blasted, matte surface mimics natural tissue texture and hides the metal color better.
- Cleaning: It removes any residual contaminants or oxides from the milling process.
How to do it (The “Goldilocks” Method):
| Parameter | Recommendation | Why? |
|---|---|---|
| Media | Aluminum Oxide (Al2O3) | Industry standard, sharp and effective |
| Particle Size | 50µm to 110µm | Creates good “tooth” without being too aggressive |
| Pressure | 2.0 to 2.5 Bar | CRITICAL: Too high can alter precision fit |
| Distance | 10-15 mm | Close, but not touching |
Pro-Tip: Always test on scrap titanium first. You want a consistent, uniform matte finish—not too shiny, not pitted.
🚀 Final Thoughts
Working with titanium is a skill that takes practice. Don’t get discouraged if your first few pieces aren’t perfect. Remember the golden rule of sandblasting: Low pressure, sharp angles, and always test first. As you gain experience, you will develop an eye for the perfect surface texture. Keep learning, keep practicing, and soon you will be the go-to expert in your lab!